
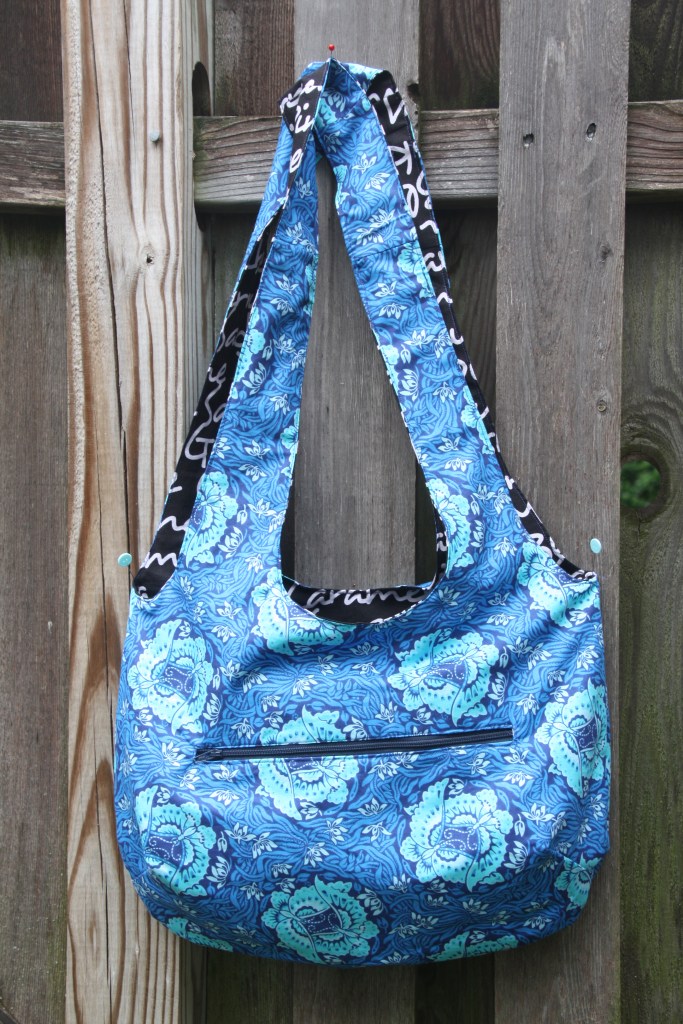
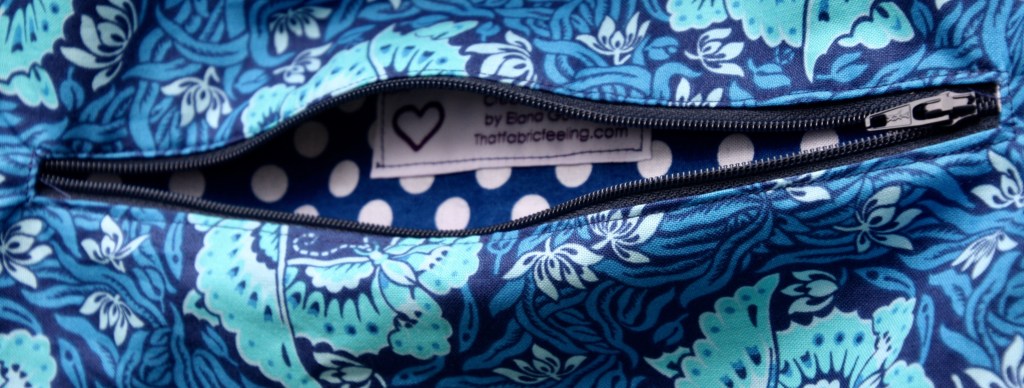
This reversible bag features a zipper on the blue side. 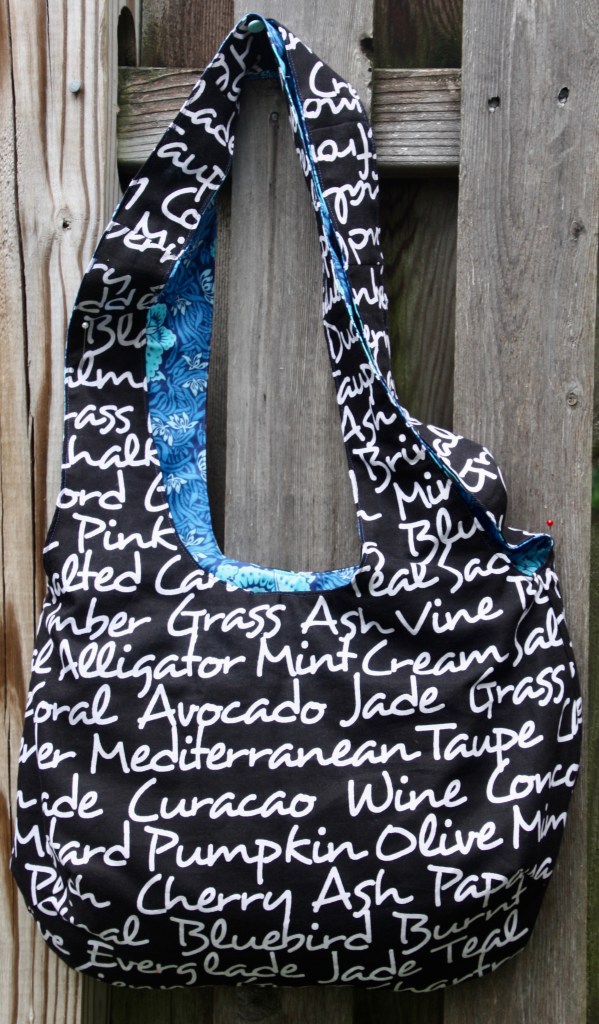
I love the bold black & white contrast with the feminine blue Amy Butler fabric.
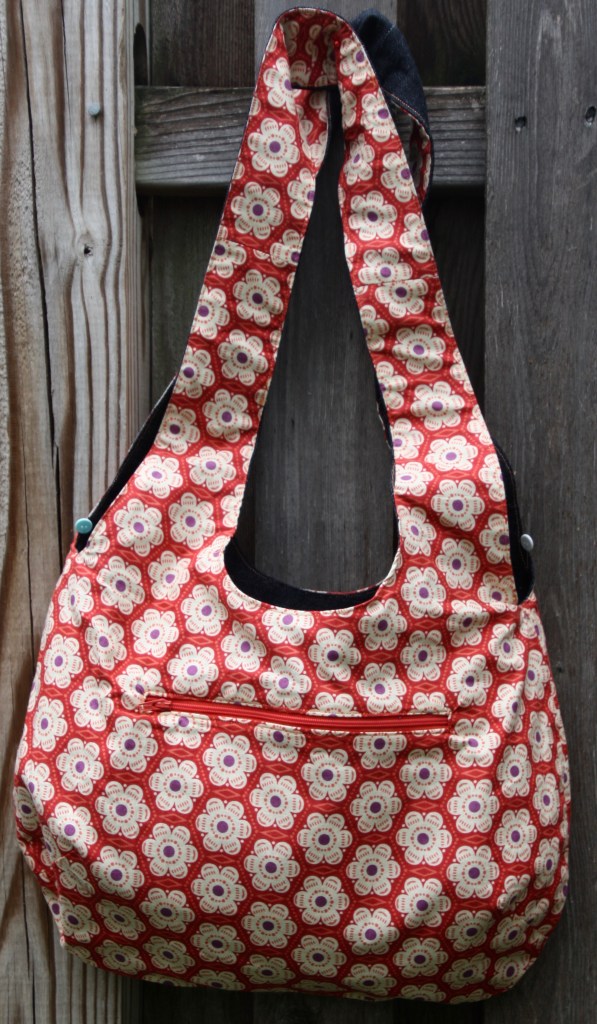
This week I’ve been doing some small quilty stuff but mostly my time has been busy with making these easy Hobo bags. Playing with fabrics, zippers and planning the color combinations has me so excited. The pattern is very adaptable and can be used in so many ways. I love this bag for the beach, the market but especially as a wonderful gift!! Fill this bag with some homemade items and give it as a gift. It’s completely reversible and washable. Just touch it up with an iron…or not, and away you go!!

Zipper on the blue Japanese fabric side. 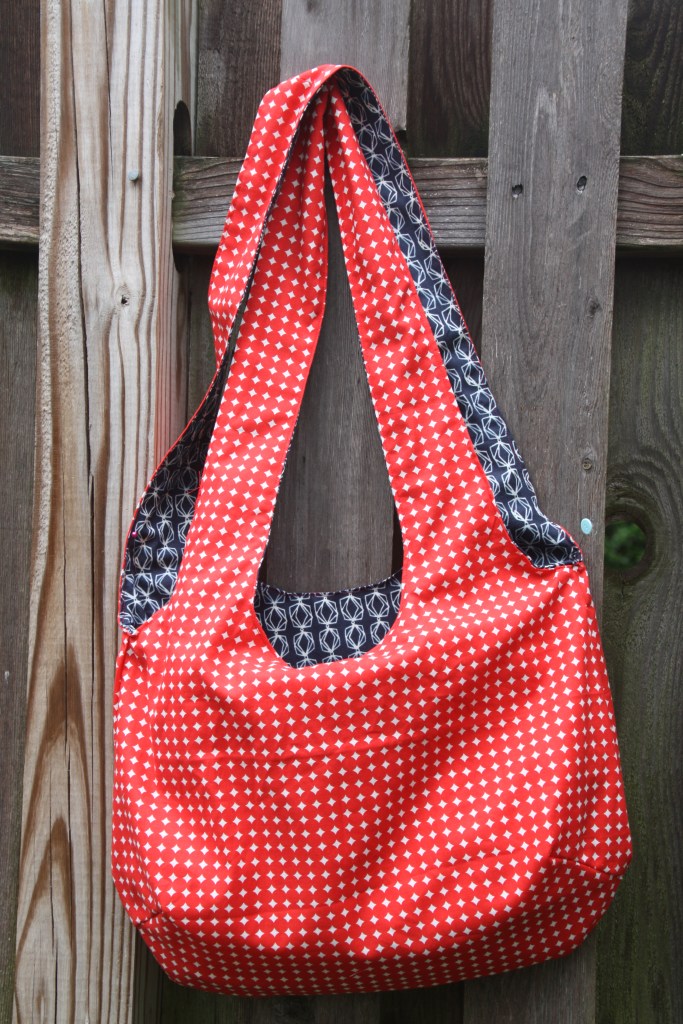
Love this red fabric for lining.

Black denim fabric 
I love this red floral print.
I am an art therapist at an Assisted Living Facility where I’m lucky to have a sewing group. This week one of my residents wanted to make a “Hobo bag,” so that’s how my current craze began. Before I could teach a 94-year-old how to make one, I needed to test out the pattern. Making a prototype, I immediately found a correction needed in the pattern. Of course, one must then make a few more bags to try out changes made.
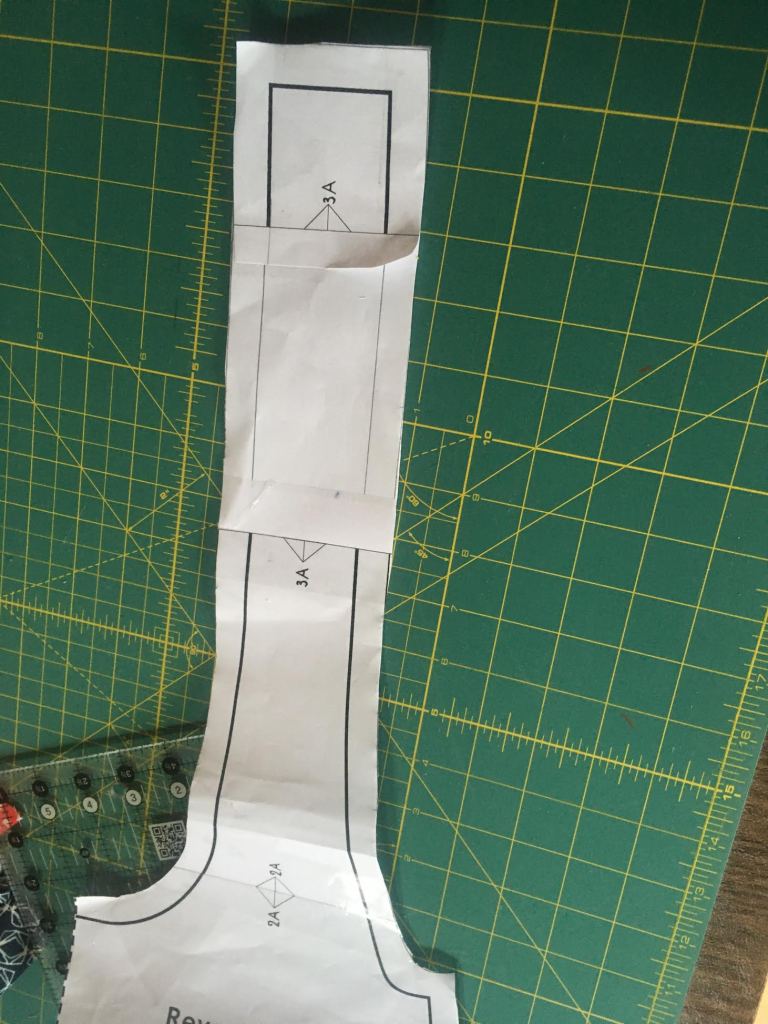
PATTERN & ADJUSTMENT: Let me share the adaptable, very easy, reversible Hobo Bag pattern & tutorial found at verypurpleperson.com. In a stroke of luck, you can also view a video by Mr. Domestic making this exact bag out of rayon. He adds thermoweb interfacing, and even quilts some of his bags, but I kept mine somewhat simple. The pattern is very easy except pay attention to my note here. The pattern straps MUST be lengthened before you cut your fabric!! Attach a scrap piece of copy paper (3.25″ x 5.25″) to the paper pattern. This will lengthen your strap so that the bag actually can be worn on your shoulder!! If you follow the pattern as is, the straps will be too short and your bag will only be able to be carried by hand. You got it so far?? Lengthen the pattern and now you’re good to go.
ZIPPERED POCKET: I also added a zipper pocket to one side of my bags. This is optional, but who doesn’t love an extra pocket here and there!? If you’re adding a pocket, do that right after cutting out your fabric pieces. My favorite way to add a zip pocket is the method shown here in this zippered pocket tutorial. If you don’t like that tutorial, you can find several others for adding a zippered pocket. My zippered pocket fabric measured 11″ x 13″. I used a 12″ zipper and cut it down to size. After adding your zipper, only then go ahead and put the bag together.

I made several bags using fabric that I’ve been eyeing for awhile. The black denim was stretchy and a bit wonky when I completed it, so I tossed it in the wash to shrink. I needed to iron it a bit after drying, but it looks much better. Here are all 3 bags together and I do like how they came out. I might just have to make a few more. My next one may be a very scrappy style cause I’m wondering how that will look. Stay tuned…


Linking up to:

Pingback: Hello Fall Scrappy Bag | That Fabric Feeling·
What a great bag. and what a great week to play with your quilty stuff – I bet that just makes your heart sing!
LikeLike
You get me!! I’ve been enjoying sewing bags and customizing them, trying new fabrics, adding different features. It’s been a great ride. Now I”m already on to something else.
LikeLike
Totally cool! I’ve been needing/longing for a new bag!
LikeLike
I’m just finishing another one now. They’re addictive!
LikeLike
Now comes the fun part, filling them to use as gifts!
LikeLike
I know, right!? I’m thinking of sending a few to friends for no reason at all. It’s a time in our lives where we could all use a little surprise gift, right!?
LikeLike